The Delta brand is one of the leading brands of shower fixtures for your bathroom and tub. In addition, Delta shower offers a range of innovative showerhead products. The rough-in valve is one of Delta’s innovative products and is universal.
The valve is the heart of the system. Although it stays behind the walls, it’s in charge of controlling the temperature of the water. In this article, we’ll show you how to install a Delta shower valve.
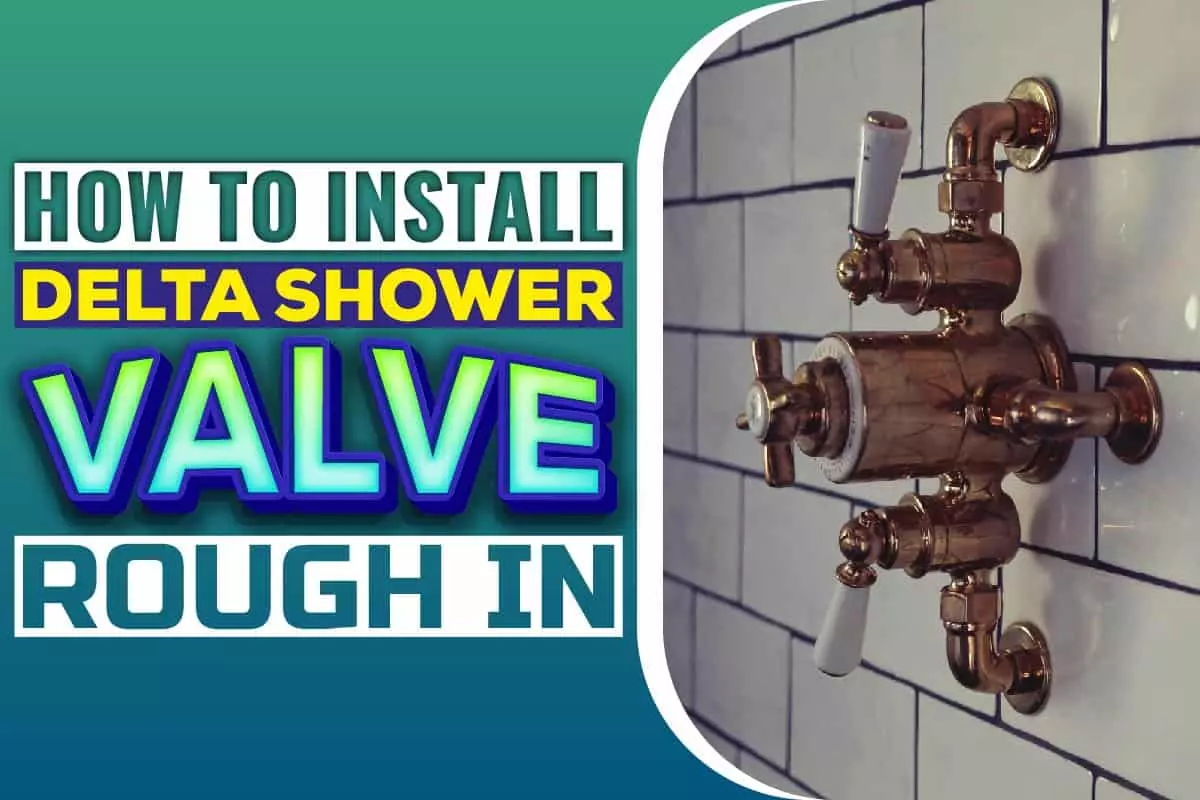
How To Install Delta Shower Valve Rough In
#1: Get your tools ready
Before you begin, you’ll need the following tools:
- Soldering iron
- Solder
- Screwdrivers
- Adjustable wrench
- Screws and nuts
- Teflon
Remember to keep all your tools within reach, as this helps you work faster. Also, ensure that all the parts of the rough-in are complete – the bonnet, cover, screen, plaster guard, test cap, and stop.
#2: Take care of the water outlet
Disconnect every single water outlet in the house. We don’t need any outlet letting out even the smallest amount of water.
#3: Set up the rough-in
It’s now time to mount the rough-in into the wall. To do this, first examine your valve and the thickness of the wall using the bracket. It should fit perfectly.
If it fits the valve and still enables it to reach the water supply, mount the valve using the holes on the bracket.
Before using the plaster guard, make sure the valve mounting is solid. Then, look at it, and you will see the word, ‘UP.’ This feature helps you know the right way to position it.
Once you have set it up, use at least a 3/8 inches plaster guard, flush the valve, and ensure that the plaster guard is in front.
Note: If the wall is not thick, the plaster guard should be at the back and not the front.
#4: Connect the pipes
Now that you set up the rough-in, it’s time to mount the connecting pipes to the water supply. To do this, first select the supply pipes. Then you need to connect both the hot and cold water.
If you want to do the reverse method (hot water on the right and cold water on the left), it is the same process, just a change in usage.
Note: If you need just one water supply, then ensure you cover the other pipe using a pipe plug. If you need to use Teflon, do make use of it where necessary.
#5: Soldering time
Before smoldering, remove the bonnet and test cap you find in front of the valve. Also, remove the stops and screws to enable you to do a good job.
Leave the screen after removing other things. Solder using the lowest temperature. We don’t want to use a high temperature and damage the screen. Be careful before using the smolder, so it doesn’t affect the screen (small filtering device).
#6: External connection
The outlet connects to the internal valve to ensure free water flow from the valve to the shower.
So, connect a fitting pipe to the top outlet of the valve interior. The fitting pipe should face you directly. Use Teflon to seal the connection.
#7: Do a pressure test
A pressure test is essential so you can determine if you have done an excellent job. In addition, a pressure test will detect any leaks that need amending before connecting them to the shower.
To do a pressure test, first ensure that the O-ring and the screen are well installed. Then, you can look at the manual to confirm they’re correct positions.
Once they are well set up, reconnect the test cap and bonnet tightly. Then, plug in the showerhead and the hot spouts into the outlets.
Do a double check to ensure all outlets and inlets are appropriately connected so that when the water comes running out, there won’t be a problem.
Open the water supply and check for any leaks. If you find any, you need to fix it before doing the final finishing. If there is none, then it’s time to finish the work. Next, unplug the showerhead and hot spout.
#8: Flushing
Flush the system by letting both the cold and hot water run out for about 5 minutes. After that, it washes the internal pipe. After doing this, remove the test cap, the bonnet, and the screen. Next, tighten up the rough-in by putting in the screws or stops.
Use the nuts on the stem. Else, it won’t work. Use the screwdriver when needed. Lastly, put back the bonnet, test cap, and screen in their proper places.
#9: Final installation
It’s time to install your shower. First, ensure you have used all screws, nuts, compression systems, and Teflon as indicated in the manufacturer’s manual to ensure everything is in order.
Note: Always double-check with the product manual while performing the installation. Delta showers may be similar, but some may have a slight difference in their installation process.
So, what constitutes a Delta shower faucet package?
Delta Shower Faucet Package
Shower trim kit:
Every Delta shower faucet comes with two parts – the trim kit and the valve.
The trim kit refers to all the parts of the faucet you can see and touch. These include the showerhead, flange, shower arm, and shower handle to turn on and off the water. The package also consists of a shower cartridge.
The shower faucet comes in different series depending on what type of cartridge is inside. For example, it comes in Monitor 14, Monitor 17, Monitor 17T.
Shower faucet valve:
The valve is responsible for mixing hot and cold water till it’s moderate enough for release through the shower. Note that a Delta Trim Kit can only work with its valve. Likewise, a Delta Trim Kit cannot fit with the valve of another brand.
The trim kit and the valve need each other to work. So you’ll sometimes wonder why the company sells them differently.
Why Are The Trim Kit And The Valve Sold Differently?
When building a new house or giving your old home a complete makeover, you’ll need both the trim kit and the valve.
However, if you need to replace either of the kits due to damage to previous installations, then you’d need to get the damaged one replaced. So, by selling them separately, the company helps customers save money.
What makes Delta stand out? Continue reading for more.
What Makes The Delta Brand Stand Out?
#1: Delta valves, without stops, are all ‘Universal’ in nature. So, if you have a Delta shower valve installed at the back, you can set up almost any type of Delta trim kit on it.
This property is an added advantage, as you no longer have to tear down your walls anytime you have a problem with your shower faucet.
#2: Delta also offers you diversity, as they provide from modern and contemporary to traditional Victorian types of faucets.
With the same Delta valve installed, you can choose to change from modern to traditional. It also allows you to change the function of your shower from a regular one to a thermostatic shower.
The reason is that the trim kit determines the function of the Delta shower faucet, not the valve. Unfortunately, not all brands can boast of this flexibility.
Some brands produce their valve and trim kit to go together, but the valve is not universal. So, if your trim kit has a problem, you can’t just buy and install a new one alone. Instead, you’ll have to remove everything and buy a new set.
What Are The Most Popular Valve Models?
Although Delta valves are universal, there may be a little confusion in choosing the one to buy. The most popular Delta models are the R10000-UNBX and R1000-UNWS.
Delta valve models include:
R10000-UNW – it has a universal outlet/inlet with stops
R10000-UNWSHF – this has a high flow but only with stop showers. Not compatible with tub shower combinations
R10000-UNBX – it’s a single box inlet/outlet model
R10000-UNBXHF – has only a high flow shower and is not compatible with tub shower combinations.
R10000-MFWS – it’s a universal pex cold expansion with stops with UN outlet
R10000-PXWS – universal pex crimp connections with UN outlets with stops
R10000-IPWS – universal IPS valve with stops
R10000-UNBXT – universal thin wall shower valve
R10000-UNWSBXT – universal thin wall shower valve with stops.
The Stop In Shower Valves
The stops in a Delta shower valve help stop the flow of water in that valve. They are helpful if you need to repair them, but you can’t afford to shut off the water all over the house.
If you’ll need water within the time of repair, then a shower valve with stops is best for you. Then, you can turn them with a screwdriver, thereby shutting off water from only that channel or valve, while the other water channels can still have flowing water.
Conclusion
Installing a Delta shower valve may appear tricky, but you can set it up following a set of instructions. As general advice, always consult the product manual as different models may slightly vary their installation process.
The complete Delta faucet package involves the trim kit and the shower valve. Although they both need each other to work, the company sells them differently to accommodate the needs of different buyers.
If you were building a new house, you’d need to buy the two products at once. However, you’d only need one part if you were doing a replacement.
