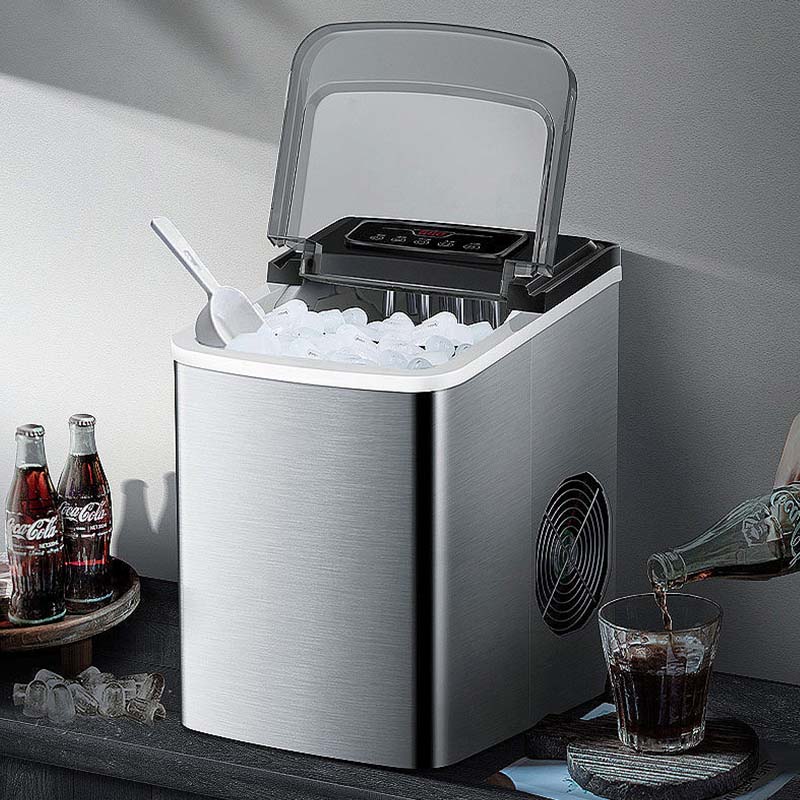
An afternoon party can go from ‘nice and warm’ to ‘fun and chill’ with some ice to go with your favorite drinks. Ice is considered food by the FDA since it is taken into the body, which makes your ice maker a possible health risk.
Why You Should Clean A Countertop Ice Maker
According to the U.S. Centers for Disease Control and Prevention, some bacteria (e.g., Salmonella, E. coli, Shigella, Norovirus) found in moldy ice can result in a number of gastrointestinal symptoms like vomiting, diarrhea or stomach cramps.
Worse pathogens (e.g., Listeria monocytogenes) that lead to miscarriages or stillbirths in pregnant women and other dangers in people with compromised immune systems, have been discovered in unwashed ice makers.
The results of not keeping your ice maker tidy are health hazards and lesser value for money. When your machine stays clean, it promotes wellness and lasts longer, giving you prolonged value for your investment. Also, if you are considering buying an ice maker, you can click this link to get your favorite one.
How to Clean A Countertop Ice Maker
Now you have your tools, let me walk you through a beginner-friendly process of how to clean your Kismile countertop ice maker:
Prep Ice Maker
The very first step is to unplug your ice maker from its power source and make sure there’s no ice in it. Now you can move it closer to a sink or bucket, and unscrew the plug to drain out water, then fix it right back. Remove the ice storage bucket, mix the cleaning solution with water as instructed, and pour it into the water reservoir.
Run Ice Cycles / Clean Cycles
Return the ice basket to its place. Connect your ice machine to electricity and run multiple ice cycles (or use the automatic Clean Cycle if available) until at least half of the mixture in the reservoir is gone. Discard this batch of ice containing the cleaning solution and disconnect your ice maker from its power source. It’s time to remove the storage basket, ice tray, scoop, and soak them in soapy water.
Wash Ice Maker
Use the leftover cleaning solution and a soft cloth to wash the interior and exterior of your unit, not forgetting to tidy up the basket, ice tray, and scoop. Go ahead and scrub the ice prongs and the space behind them if you need to descale as well. Remove the drain plug to let out the cleaning solution. While the plug is still unscrewed, run clean water through the unit to properly rinse it out. Use the spray bottle and a small brush to take out debris in narrow areas. Screw back the drain plug.
Repeat Ice Cycles
Put fresh water into your water reservoir and return your ice basket. Plug the ice maker once again and run ice cycles repeatedly until the ice is tasteless and odorless. It is important you throw away this batch of ice, as there would be a residue of cleaning solution in it. Dry your countertop ice maker in and out, and store away if not in active use.
Warning Signs
It is ideal to sponge your ice maker monthly (if possible) or at most, every 3 months. However, when you notice obvious dirt on the inside or walls of your ice maker, unusually opaque or rusty-looking ice, tasty or foul-smelling ice, smaller-than-normal or fast-melting ice, your ‘clean indicator’ light turns yellow, or your ice maker’s sensors start to malfunction, you can be sure your unit needs an urgent bath.
Maintenance Tips
What you do after cleaning is as important as the cleaning exercise. From opting for distilled or soft tap water to make your ice with, down to getting timely technical checks, paying attention to anything that could become an issue if overlooked, could add more health to your ice maker, complimenting the cleaning process.
You’d do well to unplug your unit when not in use, avoid harsh chemicals or hot water when cleaning, descale regularly to prevent malfunctions resulting from calcium build-up, tidy ice maker’s exterior weekly or more often, wash your ice tray daily, store your unit when it is completely dry, avoid use a cleaning solution and a sanitizer at the same time, and note the cleaning agents or tools that do not go well with the material your ice maker is made of.
Conclusion
Taking care of your countertop ice maker is a safety measure that benefits both you and those around you in more ways than one. Yes, it can be a tedious process, but clean, crunchy ice from a long-lasting machine makes it all worth it in the end!
