
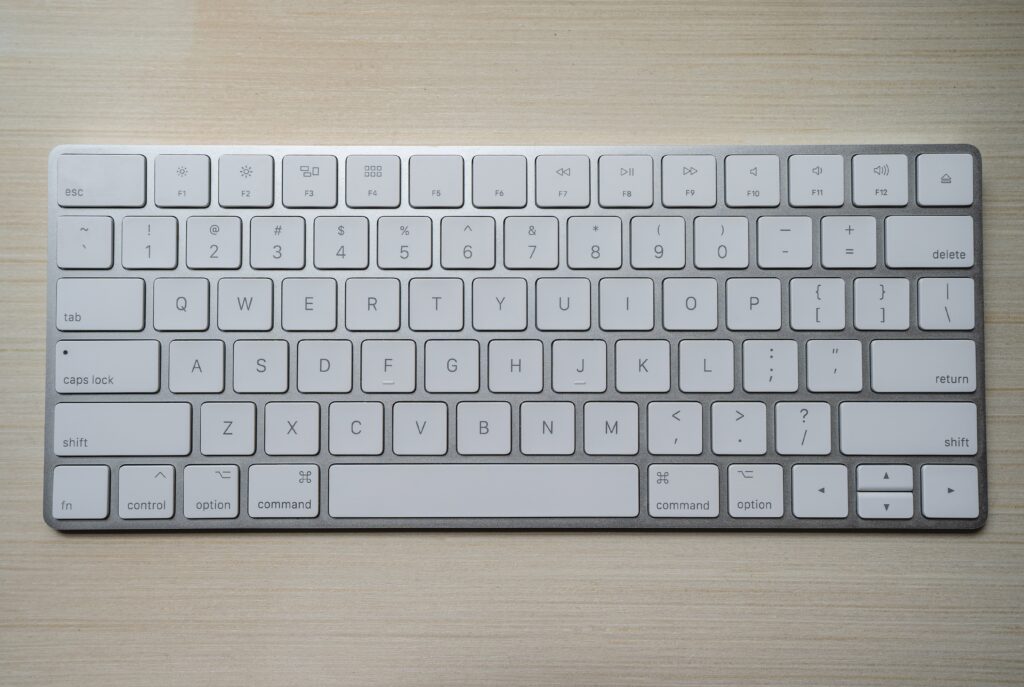
Do you know how to PE Foam Mod your keyboard???
Are you tired of the same old boring keyboard? Do you want to add some personality and customizability to your typing experience? Look no further than PE foam modding!
This simple yet effective technique can transform your keyboard into a work of art. In this post, we will guide you through the steps on how to PE foam mod your keyboard and take your typing game to the next level. Get ready for an enjoyable and rewarding DIY project that will not only enhance your productivity but also impress anyone who lays eyes on it!
How do I do PE Mod?
If you want to PE foam mod your keyboard, there are a few things you need to do. First, you need to find some PE foam. You can find this at most craft stores. Once you have the foam, cut it into pieces that will fit snugly around your keys. Make sure not to make the pieces too thick, as they will make your keys harder to press.
Once you have your foam pieces cut out, take some time to clean your keyboard. You don’t want any dirt or dust getting trapped under the foam. Once your keyboard is clean, start attaching the foam pieces. You can use glue or tape to attach them. Just make sure that whatever you use is strong enough to hold the foam in place.
Now that your keyboard is all foamed up, enjoy the quieter typing experience! Your keys will also feel softer and more comfortable to press.
Step 01 Prepare PCB
Before you start, you will need to gather the following materials:
-A PCB with solder mask and exposed copper areas (preferably with vias)
-A can of compressed air
-A tube of conductive adhesive
-A sheet of polyethylene foam
-A sharp knife
-Some tweezers
-A magnifying glass (optional)
With everything gathered, you’re ready to start preparing your PCB. The first step is to clean the exposed copper areas with compressed air. This will remove any dust or other contaminants that could interfere with the adhesive later on.
Once the copper is clean, apply a small amount of conductive adhesive to reach the PCB. Be sure to apply it evenly around the entire circumference of the via. Next, take your sheet of polyethylene foam and cut out a piece that is slightly larger than the PCB. Once again, use the compressed air to remove any dust or debris from the surface of the foam.
With everything clean, align the foam over the top of the PCB and press it down into place. Make sure that all of the vias are lined up with their corresponding holes in the foam. The last step is to trim away any excess foam from around the edges of the PCB.
You can use a sharp knife or a pair of tweezers for this. Once everything is trimmed away, you’re ready to move on to Step 2!
Step 02 Measure PE Foam
To measure the PE foam, you need a metric ruler or measuring tape. Measure the length and width of the keyboard to get the dimensions of the foam. Once you have the measurements, cut the foam to size with a sharp knife. Make sure that the foam is slightly smaller than the keyboard so that it fits snugly.
Step 03 Poke Holes
Poke holes in the PE foam to allow for an evening out of the distribution of force. This will help avoid “puddling” of the material and provide a more uniform result. Use a toothpick or other sharp object to make small, evenly-spaced holes in the foam.
Step 04 Prepare PCB-Mount Stabilizers.
If you want to use PCB-mount stabilizers for your keyboard, you will need to prepare them before installation. This process is similar to the one used for plate-mount stabilizers.
First, you will need to remove the PCB from the keyboard. Next, identify the two outside mounting holes for each stabilizer. These are typically located at the top and bottom of the PCB.
Using a drill or a rotary tool, enlarge these holes so that they are big enough to accommodate the stabilizer posts. Be careful not to damage any other components on the PCB while doing this.
Once the holes are enlarged, you can insert the stabilizers into place. Start by inserting the posts into the bottom mounting holes, then snap the top part of the stabilizer into place. Make sure that both parts of the stabilizer are securely snapped in place before proceeding.
Now, you can reattach the PCB to the keyboard and test it out!
Read More: Gaming Chairs: Are They Good For Your Back And Posture?
Step 05 Prepare Plate
Plate preparation is critical to a successful foam mod. The goal is to create a smooth, level surface for the foam to adhere to.
Start by cleaning the plate with isopropyl alcohol. This will remove any oils or fingerprints that could potentially interfere with the adhesive.
Next, use sandpaper to rough up the surface of the plate. This will give the adhesive something to “grab” onto. Be sure to sand in all directions – you don’t want any shiny spots!
Finally, wipe down the plate one last time with isopropyl alcohol and allow it to dry completely before proceeding to the next step.
Step 06 Install Switches.
Installing switches is a pretty straightforward process. You’ll need to remove the keycaps from your keyboard, and then desolder the old switches. Once the old switches are removed, you can solder in the new ones. Make sure that the legs of the switch are correctly positioned in the holes on the PCB before soldering.
If you’re using Cherry-style mechanical switches, you’ll also need to install the stabilizers. These are small plastic pieces that go under the larger keys (like Shift and Enter) to help keep them level. To install them, just place them in their spots and then snap them into place.
Once all of the new switches are installed, you can put the keycaps back on and start using your keyboard!
Step 07 Trim Foam
Using sharp scissors, trim the foam so that it is flush with the keyboard. Make sure to leave enough foam so that the keys are still stable and don’t wobble.
Step 08 Assemble the Keyboard
Assuming you have all the required materials, the first step is to remove the keycaps from your keyboard. This will give you better access to the PCB and make it easier to work with. Once the keycaps are off, gently pry up the PCB from the case. Be careful not to damage any of the components or connectors.
With the PCB removed, it’s time to start applying foam around the edges. You want to be generous with the foam, especially around areas where there are gaps or openings. Once you’re satisfied with the coverage, press the PCB back into place and reattach the keycaps.
Now for the fun part! Applying pressure to different areas of the keyboard will cause different sounds to emanate from the built-in speaker. Experiment and find what works best for you. With a little practice, you’ll be making some truly unique noises!
Step 09 Marble Madness
If you’re looking to add a little bit of style to your keyboard, why not try PE foam modding? This simple technique can be used to add designs and patterns to your keyboard, and it’s easy to do! Read on to learn how.
What You’ll Need:
-PE foam sheet (you can find these at most craft stores)
-Scissors
-Ruler or measuring tape
-Pen or pencil
-X-Acto knife (optional)
Instructions:
1. Begin by measuring and cutting your PE foam sheet into the desired shape. If you’re using a ruler or measuring tape, make sure to use sharp scissors so that your cuts are clean and accurate. If you want to get really detailed with your design, you can use an X-Acto knife instead of scissors. Just be careful not to cut yourself!
2. Once you have your piece cut out, it’s time to start decorating! You can use permanent markers, paint, glitter, etc. Get creative and have fun with it!
3. Once you’re satisfied with your design, peel off the backing of the PE foam sheet and stick it onto your keyboard. Press down firmly so that it adheres well. And that’s it! You’ve now successfully PE foam-modded your keyboard!
Final Notes
If you’ve followed the steps in this article, you should now have a keyboard with PE foam mods that improve its sound and feel. Here are a few final notes to keep in mind:
-The amount of PE foam you use will affect the sound and feel of your keyboard. Experiment to find the right balance for you.
-If your keyboard has multiple keys with different functions (e.g. media keys, volume control, etc.), you may want to consider modding each key individually for optimum results.
-Be sure to clean your keyboard regularly, as PE foam can attract dust and dirt over time.
We hope you’ve enjoyed this article on how to PE foam mod your keyboard. If you have any questions or comments, please leave them below!
