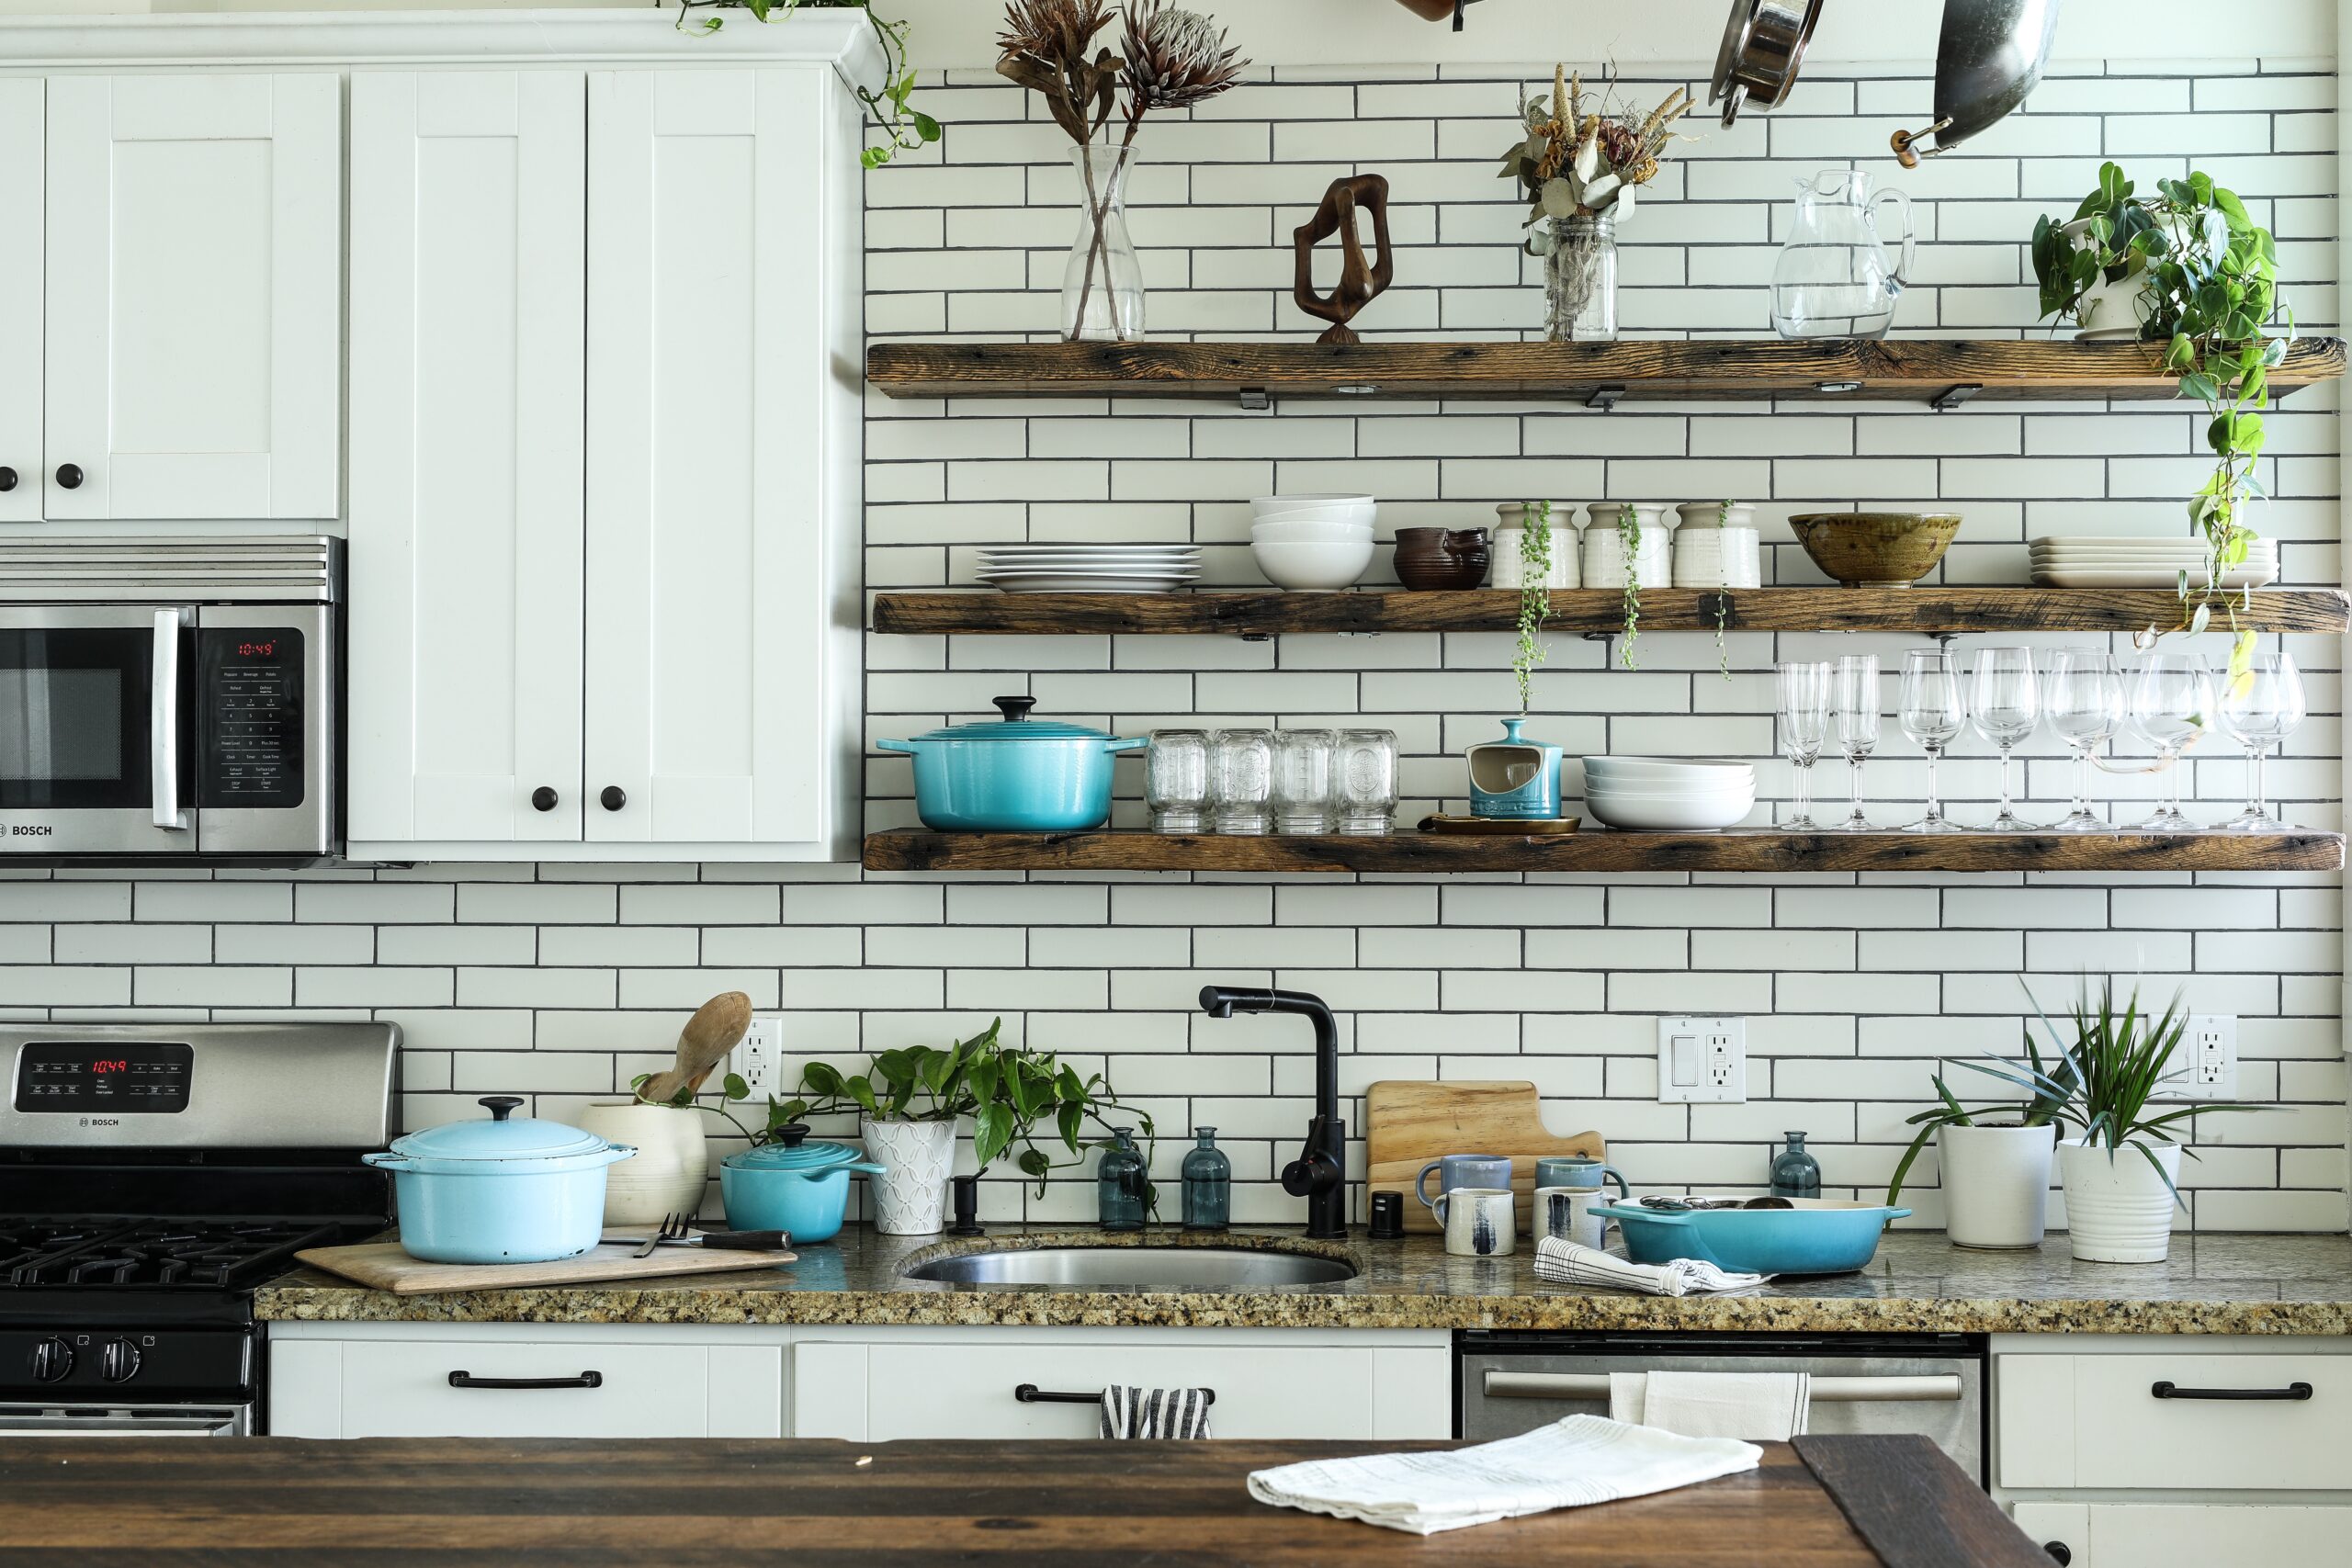
Welcome to our DIY Home Decor Ideas blog post, where we’ll show you how to craft beautiful items for your space! If you’re looking to add a personal touch and unique charm to your home, then these creative projects are perfect for you. Whether you’re a seasoned crafter or just starting out, these ideas are sure to inspire and impress. From spoon displays to cane webbing bookshelves, there’s something here for every style and taste. So grab your crafting supplies and let’s get started on transforming your space into a haven of creativity!
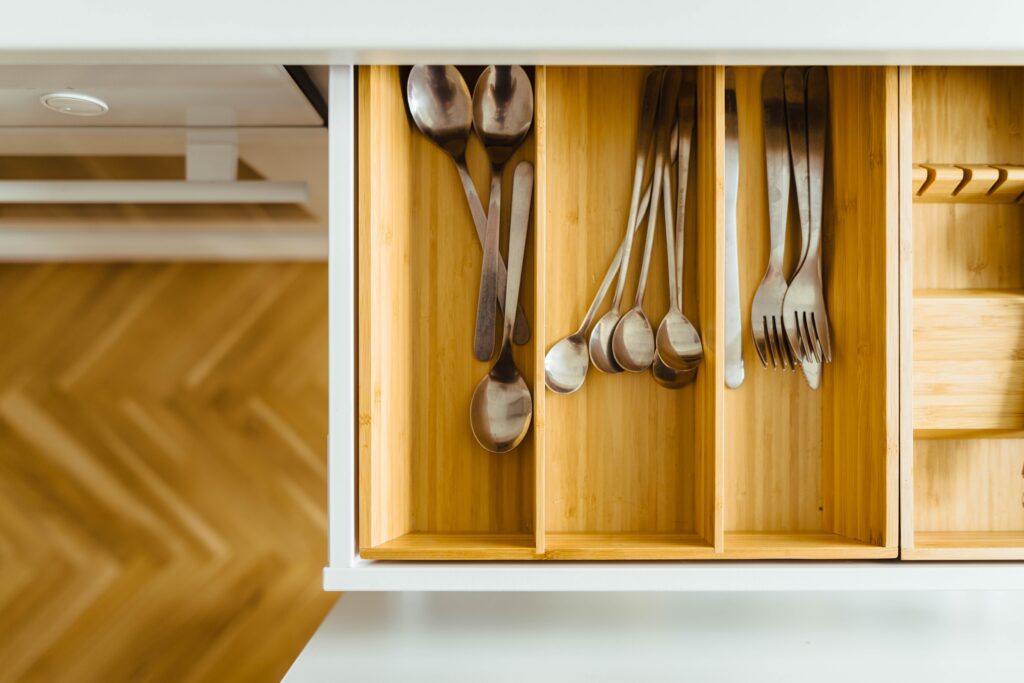
DIY Spoon Display
Are you tired of your old, boring wall decor? Why not create a unique and eye-catching DIY Spoon Display? This fun project will add a touch of whimsy to any room in your home.
To start, gather an assortment of vintage spoons. Hit up thrift stores or search online for some beautiful and ornate options. Once you have your spoons, give them a thorough cleaning to remove any dirt or grime.
Next, choose a wooden board that fits the size and style of your space. You can leave it natural or paint it in a color that complements your decor. Secure the spoons onto the board using strong adhesive or nails.
Arrange the spoons in an interesting pattern or design, creating visual interest and dimension. You can arrange them in rows, circles, or even scatter them randomly for an eclectic look.
For added flair, consider painting the handles of the spoons in different colors to create a vibrant display. Hang your DIY Spoon Display on a prominent wall where it can be admired by all who enter your home.
This simple yet stunning project is sure to become a conversation piece among guests and bring personality to any room. So go ahead and get creative with this DIY Spoon Display – it’s time to turn ordinary utensils into extraordinary art!
DIY Cane Webbing Bookshelf
DIY Cane Webbing Bookshelf – Create a Unique and Stylish Storage Solution for Your Home
Looking for a creative way to display your favorite books and decor items? Why not try making your own DIY cane webbing bookshelf! This trendy design adds a touch of modern elegance to any space.
To start, gather the following materials: wooden shelves, cane webbing sheets, wood glue, and a staple gun. Begin by measuring the dimensions of your desired shelf size. Cut the wooden shelves accordingly and sand them down for a smooth finish.
Next, attach the cane webbing to the backside of each shelf using wood glue or staples. Make sure it is tightly secured to prevent sagging over time. The beauty of this project lies in its simplicity – you can choose how many shelves you want and customize their spacing to fit your needs.
Once all the pieces are assembled, let them dry completely before installing them on your wall. Mounting brackets can be used to secure the bookshelf firmly in place.
This DIY cane webbing bookshelf not only provides functional storage but also adds an eye-catching element to any room. Whether you showcase your favorite novels or display decorative objects, this unique piece will surely become a conversation starter among guests!
So why wait? Get started on creating your very own stylish DIY cane webbing bookshelf today!
DIY Oversize Quilt Square
Looking to add a cozy and unique touch to your home decor? Why not try creating an oversized quilt square! This DIY project is perfect for those who love sewing and want to showcase their skills in a creative way.
To start, gather some fabric scraps in various colors and patterns. You can use old clothes, and sheets, or even purchase fabric from a craft store. Cut the fabric into squares of equal size, ensuring they are large enough to be seen when displayed on your wall.
Next, arrange the squares in a pattern that you like. You can go for a traditional quilt design with alternating colors or get creative with asymmetrical patterns. Once you have decided on your layout, sew the squares together using a sewing machine or by hand if you prefer.
Once your oversized quilt square is complete, it’s time to display it! You can simply hang it on the wall as-is or frame it for added elegance. Another option is to turn it into a throw pillow cover by stitching it onto a plain pillowcase.
The beauty of this DIY project is that there are endless possibilities for customization. Experiment with different fabrics, sizes, and designs to create something truly one-of-a-kind. Whether you’re an experienced quilter or just starting out, making an oversized quilt square is sure to bring warmth and charm to any room in your home!
DIY Wall String Art
DIY Wall String Art is a fun and creative way to add a personalized touch to your home decor. With just a few simple materials, you can create stunning pieces of art that will truly make a statement on your walls.
To get started, gather some wooden boards or canvas as the base for your string art. You can choose any shape or design that speaks to you – from geometric patterns to intricate lettering – the possibilities are endless!
Next, map out your design by lightly sketching it onto the board. This will serve as a guide for where to place your nails or pins. Once you have your design mapped out, begin hammering in the nails along the outline.
Once all of the nails are in place, it’s time for the fun part – stringing! Choose different colors and types of strings or yarns to bring your design to life. Start by tying one end of the string onto one nail and then weave it back and forth between each nail until you achieve your desired look.
As you work on creating your wall string art masterpiece, don’t be afraid to experiment with different techniques and patterns. The beauty of DIY projects is that they allow for personalization and creativity!
When you’re finished, step back and admire your handiwork. Your DIY Wall String Art will not only add visual interest but also showcase your artistic flair. It’s an eye-catching piece that will surely spark conversation among guests who visit your home.
So why wait? Grab some supplies today and start crafting beautiful DIY Wall String Art pieces that reflect both style and personality in every room!
DIY Rope Covered Mirror
When it comes to DIY home decor, there are so many creative ideas that can transform your space. One idea that adds a touch of rustic charm is a rope covered mirror. This project not only allows you to create a unique piece for your home, but it also gives new life to an old mirror.
To start, gather your materials: a round or oval mirror, thick rope, hot glue gun, and scissors. Begin by applying a small amount of hot glue to the back of the mirror and pressing one end of the rope onto it. Continue wrapping the rope tightly around the frame of the mirror, securing with hot glue as you go along.
As you wrap the rope around the frame, be sure to cover any gaps or spaces between each coil. This will give your mirror a more cohesive look. Once you have wrapped all the way around, cut off any excess rope and secure with another dab of hot glue.
The final result is a stunningly simple yet eye-catching piece that adds texture and interest to any room in your home. Hang it on its own as a statement piece or incorporate it into a gallery wall for added dimension.
This DIY project is not only fun but also budget-friendly and customizable to fit your personal style. So grab some rope and get crafting!
DIY Cane Webbing Coasters
Are you tired of boring coasters that don’t add any personality to your space? Why not create your own DIY cane webbing coasters? Not only will they protect your surfaces from unsightly water rings, but they’ll also add a touch of natural beauty to your home decor.
To make these unique coasters, start by gathering the necessary materials: cane webbing sheets, scissors, a ruler or measuring tape, and strong adhesive. Measure and cut the cane webbing into squares or circles that are slightly larger than the size you want for each coaster.
Next, apply adhesive to one side of the cut-out shape and carefully press it onto a piece of cork or felt. This will provide some cushioning for your furniture. Be sure to smooth out any wrinkles or bubbles as you go along.
Once the adhesive has dried, trim off any excess material around the edges of each coaster. You can leave them as is for a rustic look or paint them with acrylic paint in colors that complement your existing decor.
Not only are these DIY cane webbing coasters functional and stylish, but they also give you an opportunity to showcase your crafting skills. Plus, since they’re handmade by you, they’ll surely be conversation starters when guests come over!
So why settle for ordinary coasters when you can easily create something unique and beautiful with just a few simple supplies? Give this DIY project a try and elevate both the style and functionality of your home decor!
DIY Rope Table Lamp
Looking to add some rustic charm to your living space? Look no further than this DIY rope table lamp! With just a few simple materials and a little bit of time, you can create a unique and stylish lamp that will be the perfect accent piece for any room.
To start, gather your materials: a glass bottle or jar, some thick rope, a lamp kit with a socket and cord, and a hot glue gun. Begin by wrapping the rope tightly around the base of the bottle or jar, securing it in place with hot glue as you go. Continue wrapping until you reach your desired height.
Next, assemble the lamp kit according to the instructions provided. Insert the socket into the top of your wrapped bottle or jar and secure it in place. Thread the cord through one end of the rope and out through another opening at the bottom.
Attach a light bulb to complete your DIY rope table lamp. Plug it in and watch as it casts a warm glow throughout your space!
This project is not only budget-friendly but also allows for endless customization options. You can experiment with different types of bottles or jars for varying shapes and sizes. Additionally, consider using colored rope or adding decorative accents like beads or shells for an even more personalized touch.
With its rustic yet modern aesthetic, this DIY rope table lamp is sure to become an eye-catching focal point in any room. So why not give it a try? Get creative and let your imagination shine bright!
DIY Home Decor Ideas
DIY Home Decor Ideas
DIY Stamped Napkins
If you’re looking to add a personal touch to your dining table, why not try making your own DIY-stamped napkins? This fun and easy project allows you to create unique designs that will impress your guests. Plus, it’s a great way to unleash your creativity!
To start, gather some plain cloth napkins and choose a stamp design that speaks to you. You can find various stamps at craft stores or even make your own using materials like foam or rubber. Once you have your stamp ready, simply dip it into fabric paint and press it onto the napkin in the desired pattern.
Experiment with different colors and patterns to create a set of coordinating napkins or mix things up with mismatched designs for an eclectic look. The possibilities are endless! And don’t worry if your stamped design isn’t perfect – imperfections only add charm and character.
Once the paint is dry, heat-set it according to the instructions on the fabric paint packaging. This will ensure that your designs stay vibrant wash after wash.
Now sit back and admire your handiwork as you set the table for dinner. Your DIY-stamped napkins are sure to be a conversation starter among family and friends! So go ahead, get creative, and make every meal feel extra special with these personalized touches.
Read More: Why Can’t You Record In Stores? 9 Shocking Reasons
DIY Rope Basket with Fringe Detail
Looking for a fun and creative way to add some storage to your space? Look no further than the DIY Rope Basket with Fringe Detail! This unique and stylish basket is not only functional, but it also adds a touch of boho chic to any room.
To create this beautiful piece, start by gathering your materials. You’ll need a rope of your choice, scissors, hot glue gun, and some fringe trim. Begin by coiling the rope into a circle shape, gluing as you go to hold it together. Continue adding more rows of rope until you reach your desired size.
Once you have the basic shape of the basket complete, it’s time to add some flair to the fringe detail. Simply attach strips of fringe trim around the top edge using hot glue. The fringe adds texture and visual interest to the basket.
Not only does this DIY project provide extra storage for blankets or toys, but it also serves as a decorative accent in any room. Place it next to your sofa or bed for easy access or use it in your bathroom for storing towels and toiletries.
With just a few simple steps, you can create a one-of-a-kind Rope Basket with Fringe Detail that will impress all who see it. So grab your supplies and get crafting today!
DIY Canning Hanging Baskets
One creative and functional DIY home decor idea that can add a touch of rustic charm to your space is making your own canning hanging baskets. These unique baskets are not only great for storage, but they also make for beautiful decorative accents.
To create these hanging baskets, start by gathering used canning jars in various sizes. You can find them at thrift stores or repurpose ones you already have. Clean the jars thoroughly and remove any labels or residue.
Next, wrap thick twine or jute rope around the neck of each jar several times, securing it with hot glue as you go. Leave a long length of rope at the top to hang the basket from.
Once all the jars are wrapped, tie them together using knots in strategic places so they form a cluster-like structure. Make sure to vary the heights and spacing between each jar for visual interest.
Attach a sturdy hook or ceiling anchor point to hang your canning hanging baskets from. They will add a charming touch to any room while providing stylish storage solutions for small items like pens, brushes, or even fresh flowers.
Get creative with this DIY project and customize it to suit your personal style. Consider painting the jars in different colors or adding embellishments like ribbons or beads for an extra pop of personality.
With just a few simple steps and some creativity, you can transform ordinary canning jars into stunning hanging baskets that will enhance your home decor effortlessly!
DIY Rope-Covered Hanging Mason Jar Lamp
Now that we’ve explored a variety of DIY home decor ideas, let’s wrap up with one last project that is sure to add a charming touch to your space – the DIY Rope-Covered Hanging Mason Jar Lamp.
This project combines the rustic appeal of mason jars with the natural texture of rope to create a unique and eye-catching lighting fixture. Here’s how you can make it:
1. Gather your materials: You’ll need a mason jar, thick rope, scissors, hot glue gun, pendant light cord set (available at most hardware stores), and a ceiling hook.
2. Start by cutting a length of rope long enough to cover the entire height of your mason jar. Make sure to leave some extra for hanging later on.
3. Apply hot glue around the bottom edge of the mason jar and start wrapping the rope tightly around it until you reach the top edge. Secure with more hot glue as needed.
4. Once your mason jar is completely covered in rope, attach the pendant light cord set according to its instructions. This will involve screwing in a bulb socket onto the lid of your mason jar.
5. Hang your new creation from a sturdy ceiling hook and plug it into an outlet.
Voila! You now have an enchanting and personalized lamp that will cast beautiful patterns through its roped exterior when illuminated.
Remember, these DIY projects are just starting points for unleashing your creativity and adding personal touches to your living space. Don’t be afraid to experiment with different materials or techniques!
So go ahead and embark on this exciting journey of crafting beautiful items for your home decor using these inspiring ideas! Happy creating!
