Creating time-lapse videos from photos in CapCut is a relatively straightforward process. CapCut is a popular video editing application that offers various features, including the ability to create stunning time-lapse videos. We will go through the step-by-step guide that will help you go through the process without problems.
Step by Step Guide on How to Create Time-lapse Videos from Photos in CapCut
Time-lapse videos are an innovative and captivating approach to demonstrate the passage of time by shortening lengthy spans of time into shorter ones. Let us look at the step by step guide on how to go about it:
Step 1: Sign Up for CapCut
Open your browser, and search for “CapCut” which is a free online video editor. Proceed and fill in your details, and then tap the sign-up button.
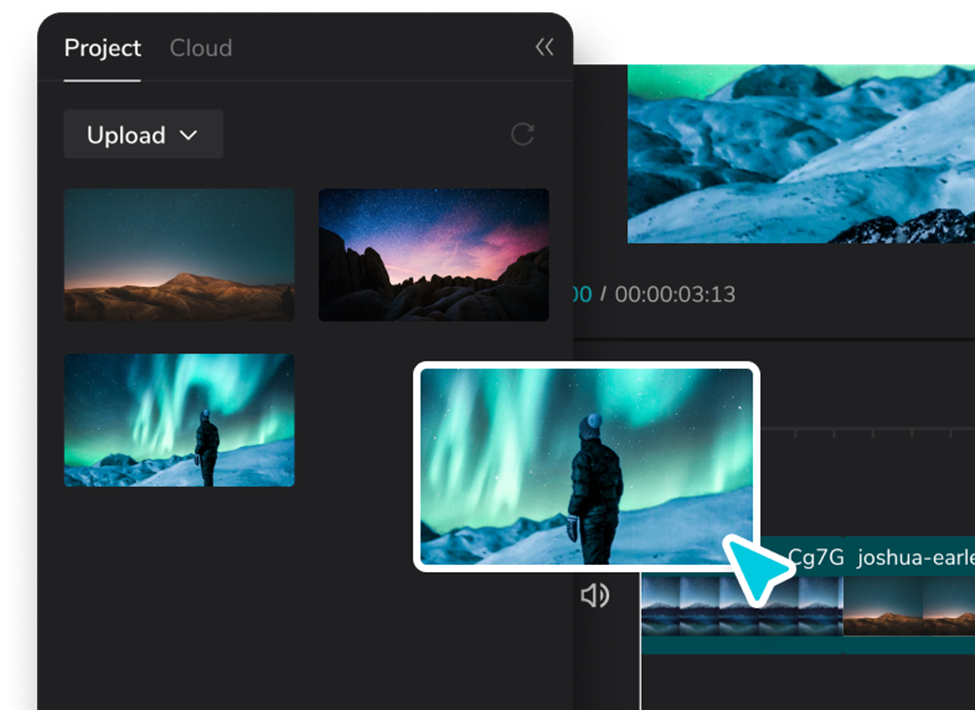
Step 2: Import your photos
- After signing in procede and tap on the “+” button on the home screen to create a new project.
- Select the resolution and aspect ratio for your video creation.
- Tap on “Media” and select the photos you want to use for your time-lapse video.
- Tap on the “Add” button to import the selected photos into your project.
Step 3: Arrange the photos
- Once the photos are imported, they will appear as a timeline at the bottom of the screen.
- Tap and hold on a photo to drag and arrange its position in the timeline. This will determine the order of the photos in your time-lapse video.
Step 4: Adjust photo duration
- By default, each photo in the timeline will have a specific duration assigned to it.
- To adjust the duration, tap on a photo in the timeline.
- On the right side of the screen, you’ll see the “Duration” option. Tap on it.
- Set the desired duration for each photo. A shorter duration will result in a faster time-lapse effect, while a longer duration will create a slower effect.
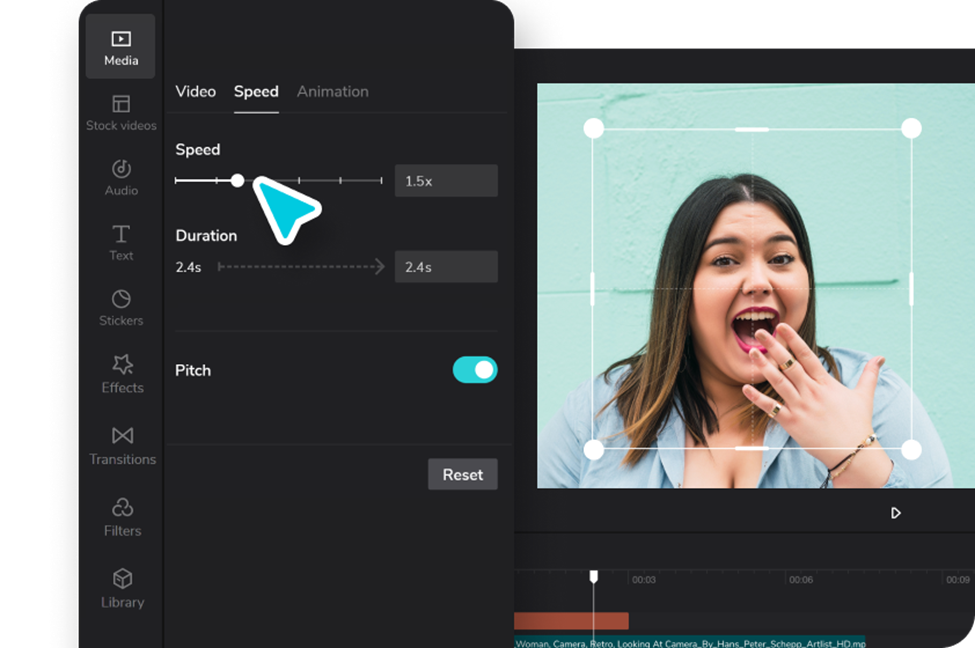
Step 5: Apply time-lapse effect
- Once you have arranged the photos and adjusted their durations, it’s time to apply the time-lapse effect.
- Tap on the “Effects” button which is at the bottom of the screen.
- In the effects menu, search for “Speed” or “Time-lapse” and select the appropriate effect.
- Apply the effect to the entire timeline by tapping on it.
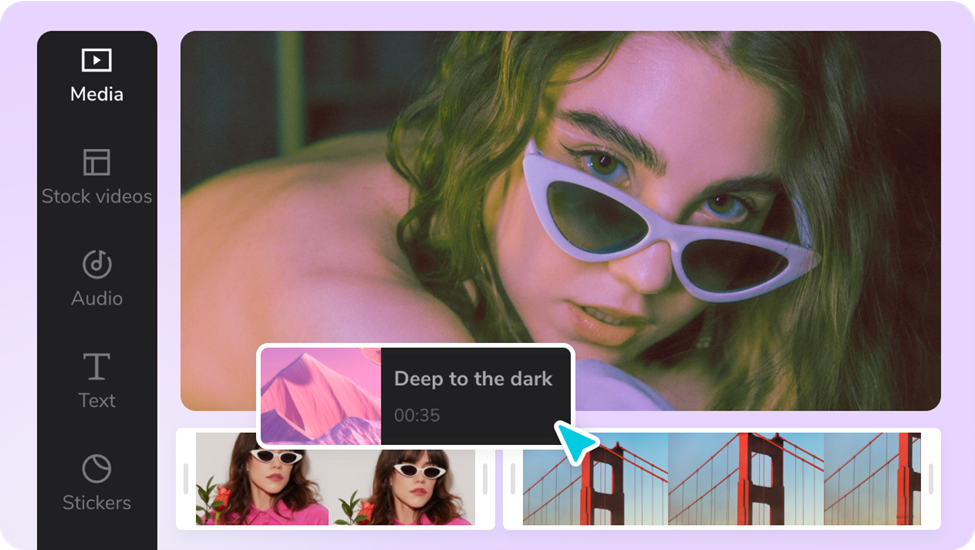
Step 6: Add music or audio (optional)
- If you want to include background music or any audio to your time-lapse video, tap on the “Music” button at the bottom of the screen.
- Select a music track from CapCut’s library or import your own audio file.
- Adjust the audio’s volume level as per your preference.
Step 7: Fine-tune your video
- CapCut offers various editing tools and features to enhance your video further.
- You can apply filters, adjust brightness/contrast, add text or captions, and more. You can also use the video background remover to change your background to a more appealing one.
- Explore the different editing options available in CapCut and make any desired adjustments.
Step 8: Preview and export your time-lapse video
- Tap on the play button which will help you to preview your time-lapse video.
- If you’re satisfied with the result, tap on the checkmark icon to save your project.
- Then tap on the export button, which is at the top-right corner of the screen.
- Choose the desired video resolution and quality settings for your exported time-lapse video.
- Tap on “Export” and wait for CapCut to process and then save your video.
Step 9: Save and share your time-lapse video
- Once the video is exported, you can save it to your device’s gallery.
- Additionally, CapCut provides options to directly share your video to social media platforms like Instagram, TikTok, or YouTube.
- Choose the preferred sharing option and follow the prompts to share your time-lapse video.
Congratulations! You have successfully created a time-lapse video from photos using CapCut.
Why is CapCut important in Creating Time-lapse Videos from Photos
CapCut is a popular video editing app that offers various features, including the ability to create time-lapse videos from photos. CapCut provides essential tools and functionalities that make the process of creating time-lapse videos from photos easier and more accessible. Here are a few reasons why CapCut is important in this context:
- Intuitive User Interface: CapCut has a user-friendly interface that allows both beginners and experienced users to navigate through the app with ease. The app provides a simple and straightforward workflow, making it accessible to anyone interested in creating time-lapse videos.
- Photo-to-Video Conversion: CapCut allows users to import a series of photos and convert them into a video format. This is crucial for creating time-lapse videos since time-lapse is essentially a sequence of photos taken at specific intervals.
- Speed Adjustment: Time-lapse videos typically involve speeding up the footage to condense hours, days, or even months into a short video. CapCut provides tools to adjust the speed of the video, allowing users to control the pace at which the photos are displayed. This feature enables users to create visually appealing and dynamic time-lapse videos.
- Additional Editing Options: CapCut offers a range of editing options, such as adding transitions, filters, text, and music, to enhance the visual appeal and storytelling aspect of time-lapse videos. These features allow users to customize their videos and make them more captivating for the audience.
- Exporting and Sharing: Once the time-lapse video is created, CapCut provides options to export the video in various formats and resolutions. Users can save the video to their device or directly share it on social media platforms, allowing them to easily showcase their creations to a wider audience.
Final Thought
In summary, CapCut’s intuitive interface, photo-to-video conversion capabilities, speed adjustment tools, additional editing options, and exporting/sharing functionalities make it an important tool for creating time-lapse videos from photos. It provides a convenient and accessible platform for users to bring their creative ideas to life and share them with others.
